Customizing your gift list is a great way to share what matters most to you with your friends and family. Here’s how you can easily edit your Registry Items list to fit your needs:
- Log in to your account and head to your Registry Items page.
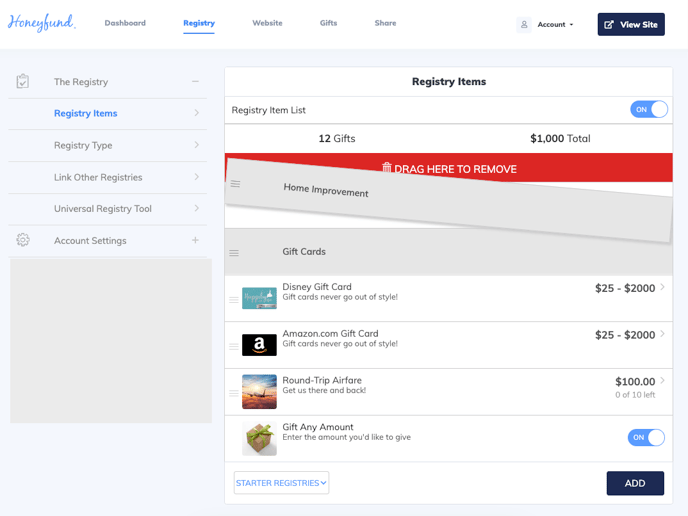
- Make sure the Registry Items List at the top of the page is toggled to the "On" position.

Adding Items:
- Check out our Starter Registries for curated lists from top destinations at the bottom left. You can add entire lists or individual items one by one.
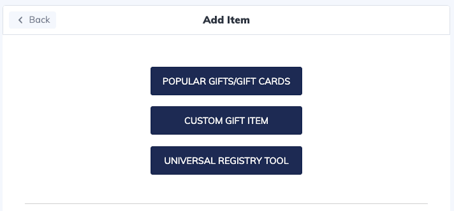
- To create your own Custom Items or to add Branded Gift cards, click on the "Add" button at the bottom right of your Registry Items page.
- The Gift Any Amount option is easily added or removed from your list by toggling it on or off from the wish list.

Editing and Reorganizing Items:
- To edit an item, click on the item you want to change.
- A detailed view will open where you can update the item name, description, minimum gift amount, how many of that item you’d like to receive, and even the item image.
- Currently, Branded items like Amazon or Target gift cards are not able to be edited.
- To move items up or down your list, simply click and drag the three small lines to the left of the item image. Arrange your list however you'd like

Important Tip: Section Titles vs. Registry Items
It can be easy to mix up section titles with actual registry items. Section titles are dark gray and won’t be visible to your guests unless they have items listed under them
To Remove a Section Title:
If you want to get rid of an unwanted section title, simply drag and drop it to the top of your Registry list.
Have we answered your question? If not, please contact us
